How to get started in astrophotography, a beginner's guide

It is a discipline that both amateurs and professional astronomers can practice. One of the reasons why this discipline captures people's attention so much is because of the beautiful and impressive images that can be obtained of planets, galaxies, nebulae, and other celestial bodies that are beautiful for many people. Although it may seem that this discipline is reserved for a few, in reality, it is accessible to almost anyone.
February 6, 2025
Astrophotography is a branch of photography focused on observing and capturing images of stars. Telescopes characterize it. These instruments help capture faint light from objects outside the Earth and help us see what the human eye can't see in more detail.
It is a discipline that both amateurs and professional astronomers can practice. One of the reasons why this discipline captures people's attention so much is because of the beautiful and impressive images that can be obtained of planets, galaxies, nebulae, and other celestial bodies that are beautiful for many people. Although it may seem that this discipline is reserved for a few, in reality, it is accessible to almost anyone.
If you are also starting to learn astrophotography, get ready. This article will explain everything you need to know.
Let's get started!
What is astrophotography?
As we mentioned, astrophotography is a branch of photography focused on observing celestial bodies. Unlike traditional astronomical observation, which depends solely on the eye's capacity, the telescope, astrophotography allows light to accumulate over long periods, achieving images with a wealth of details and impressive colors.
The images obtained with astrophotography allow spectacular images to be taken, and amateur and professional astronomers can use these images to study celestial objects, document astronomical phenomena, and even support scientific discoveries.
There are three main categories within astrophotography:
Planetary astrophotography
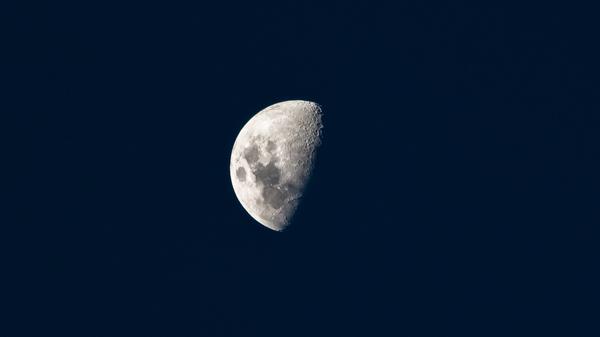
Planetary astrophotography focuses on capturing images of the planets of the Solar System, the Moon, and the Sun (with suitable filters).
Since these objects are relatively bright, short exposures are used, usually by recording high-speed video. The best frames are then extracted and stacked to reduce atmospheric turbulence and improve sharpness.
- Advantages: Detailed images of Jupiter, Saturn, Mars, and other planets can be obtained with relatively small and inexpensive equipment.
- Requirements: Telescopes with long focal lengths, high-speed cameras, and stacking software such as AutoStakkert! Or Siril.
Deep Sky astrophotography
This type of astrophotography focuses on capturing objects beyond the Solar System, such as galaxies, nebulae, and star clusters. Since these objects are incredibly dim, they require long exposures and stacking of multiple images to improve the signal-to-noise ratio.
- Pros: Allow the ruling of spectacular structures and hidden details in deep space.
- Requirements: Telescope with good aperture, motorized equatorial mount, and sensitive cameras, preferably cooled.
Wide-field astrophotography
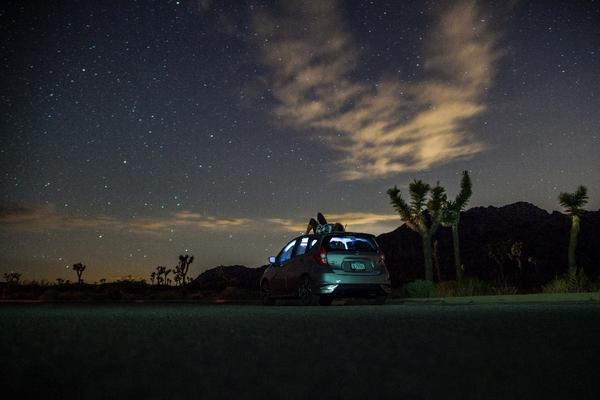
It is done with large-aperture lenses or short-focal telescopes to capture large sky areas, such as the Milky Way, meteor showers, or planetary conjunctions.
- Pros: No telescope or motorized mount required; ideal for beginners.
- Requirements: DSLR or mirrorless camera, tripod, and optionally a star tracker.
Each modality has its techniques and challenges, but they all share the same goal: to explore and document the beauty of the universe through photography.
What tools do you need to get started in astrophotography?
To start astrophotography, you do not need the most advanced equipment; instead, you must choose each component correctly to facilitate learning and guarantee better results.
Key elements for starting astrophotography include an appropriate telescope, a suitable mount, a compatible camera, specialized filters, and image processing software. Below, we detail each of these aspects.
Telescopes
The telescope is the main instrument in astrophotography, as it allows light from celestial objects to be captured and projected onto the camera's sensor. For beginners, the choice of telescope depends on the type of astrophotography you want to do.
Apochromatic refractor telescopes (APOs) are ideal for deep-sky astrophotography. Unlike reflecting telescopes, they offer sharp images without chromatic aberrations and are compact, easy to handle, and maintenance-free.
An 80mm to 100mm aperture refractor with an equatorial mount is a great choice.
For planetary astrophotography, catadioptric telescopes, such as the Maksutov-Cassegrain or Schmidt-Cassegrain, are ideal due to their long focal length, which allows fine details to be captured on the planets.
Smart telescopes
Smart telescopes have revolutionized astrophotography for beginners by automating alignment, tracking, and image capture. These devices have integrated cameras and processors that allow users to obtain quality images without complex configurations.
Some of the best Smart Telescopes to get started in astrophotography are:
Unistellar eVscope 2: Smart telescope with vision amplification technology, ideal for capturing images in real-time.
Vaonis Stellina: A compact telescope with Wi-Fi connectivity and automatic image capture software.
ZWO Seestar S50: Designed for deep sky and planetary astrophotography with advanced software integration.
Celestron NexStar 6SE: A Schmidt-Cassegrain telescope with automatic tracking and easy setup.
Vaonis Vespera: Portable and automated telescope, ideal for fast captures without needing previous experience.
These telescopes eliminate many technical difficulties of traditional astrophotography and allow beginners to obtain stunning sky images quickly.
Mounting
The mount is the mechanical support that holds the telescope and allows it to move. In astrophotography, it is even more important than the telescope. A good mount ensures the camera and telescope stay aligned with celestial objects during long exposures.
Frames are divided into two main types:
- Altazimuth mounts (AZ): These mounts move on two axes (horizontal and vertical) and are easy to use. However, due to their field rotation, they are not suitable for deep-sky astrophotography.
- Equatorial mounts (EQ): They are designed to follow the movement of celestial objects by compensating for the Earth's rotation. They are essential for long exposures.
For astrophotography, a motorized equatorial mount with auto-tracking is recommended. Some recommended models for beginners include:
- Sky-Watcher EQ6-R Pro: Robust and accurate, ideal for deep-sky astrophotography.
- Celestron Advanced VX: Excellent choice for beginners with good load capacity.
- iOptron SkyGuider Pro: Lightweight and portable mount for wide-field astrophotography.
Camera
Choosing the right camera is key to capturing high-quality images. There are three main types of cameras for astrophotography:
- DSLR or mirrorless cameras: These are an excellent choice for beginners. Models such as the Canon EOS Ra or the Sony A7S are popular for their high sensitivity.
- Dedicated astronomical cameras: Explicitly designed for astrophotography, with cooled sensors that reduce thermal noise. Examples: ZWO ASI1600MM or QHY268C.
- Planetary cameras: These are small and high-speed, ideal for capturing details of the planets. An example is the ZWO ASI224MC.
Cooled cameras are the best option for deep-sky photography, while high-speed cameras produce sharper images for planetary astrophotography.
Filter
Filters are essential tools for enhancing contrast and capturing detail in astronomical images. Depending on the type of astrophotography, different filters can be used:
- Light pollution filters (CLS, UHC): Help reduce interference from urban light, allowing nebulae to be captured more clearly.
- Narrowband filters (Hα, OIII, SII): Allow specific details to be captured in emission nebulae.
- UV/IR-cut filters: Improve focus and sharpness on cameras without an IR-blocking filter.
- Solar filters (Baader AstroSolar): Essential for safely observing and photographing the Sun.
Narrowband filters are especially useful in urban skies, capturing nebula details even in light pollution conditions.
Software
Software is a fundamental part of astrophotography, allowing you to process and enhance the captured images. There are several specialized programs in astrophotography, but these four are essential:
- AstroBin: Platform for storing, sharing, and analyzing astronomical images.
- PixInsight: Advanced processing software with specialized tools to improve image quality.
- DeepSkyStacker: Free program to stack images and improve signal-to-noise ratio in deep-sky astrophotography.
- SpacePixel: It is an emerging platform that combines image management and social and commercial functions. It is perfect if you seek a social network to share your images with other astrophotographers.
If you want to know more about the software you could use, we have already written an article explaining the perfect software for you in more detail. You can look here:
Once you've got your first astrophotography set, the next step is to learn how to set it up. Remember, you don't need the most expensive equipment at first; you just need what you have at your disposal; as you learn to take pictures, you will realize what you need to improve your images.
To get quality images in astrophotography, it's essential to set it up correctly.
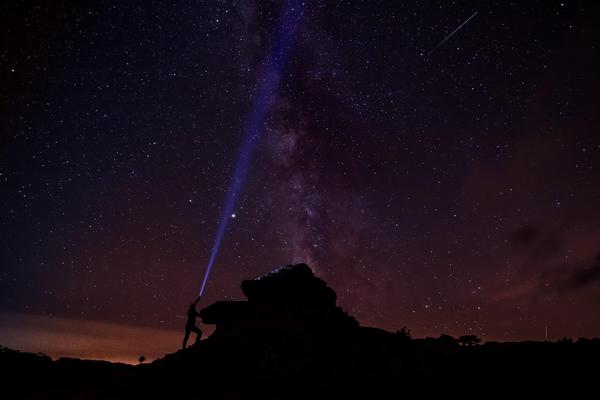
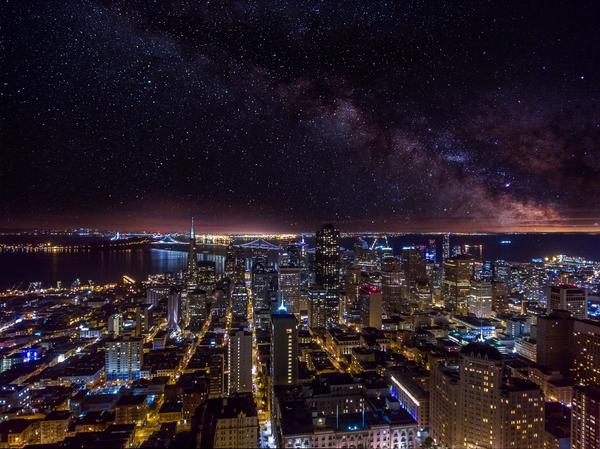
The first step is to choose a dark and stable place. Light pollution affects the visibility of celestial objects, so the ideal is to move to areas far from the city. Tools like Light Pollution Map can help you identify places with dark skies.
If you want to know more about how to avoid light pollution in your images, we invite you to read this article, which we have already explained in detail:
https://spacepixel.app/articles/what-is-light-pollution-and-how-to-overcome-it-in-astrophotography
To achieve accurate tracking, you should perform a polar alignment if you're using an equatorial mount. This means adjusting the mount to align its axis with the Earth's axis of rotation. This is done with:
- Polar Finder (if you're in the Northern Hemisphere) or using software like SharpCap.
- Drift method to fine-tune the alignment if you don't have a direct vision of the North Star.
A suitable alignment will reduce tracking error and allow longer exposures without the stars appearing shaken.
Telescope and camera placement
- Make sure the telescope is securely mounted on the mount and balanced to avoid vibration.
- If you use a DSLR or mirrorless camera, plug in a T-ring adapter.
- For dedicated astronomical cameras, install the appropriate control software and adjust the sensor's gain and temperature.
- Use a Bahtinov focuser to achieve precise focusing.
Configuring Tracking
Tracking is essential to keep objects centered in the frame during long exposures. To do this:
- Make sure the frame is level and aligned correctly.
- Activate motorized tracking on the mount and adjust the speed according to the object (sidereal for stars, solar for the Sun, lunar for the Moon).
- If using a guidance system, calibrate the software (such as PHD2) to correct tracking errors.
By following these steps, your first astrophotography set will be ready to capture the universe in the best possible quality.
Astrophotography images: key aspects
Optimizing several technical parameters is essential for obtaining quality images in astrophotography. The correct exposure settings, focus, use of filters, and stacking technique can distinguish between a blurry image and a detailed capture of the cosmos. Below are the key factors to consider.
ISO exposure and sensitivity
Exposure determines how much light is captured in an image. Because objects in astrophotography are incredibly faint, long exposure times are needed to record details.
- For planetary astrophotography, short exposures (milliseconds) are used to avoid atmospheric distortions.
- For deep sky, long exposures (30 seconds to several minutes) are required to capture faint details.
ISO sensitivity is also crucial. DSLR cameras with a high ISO (800-3200) capture more light and increase noise. Cooled astronomical cameras minimize this problem by reducing thermal noise, allowing for long exposures without compromising quality.
Precise focusing
Precise focusing is essential for sharp images. A slight error in focus can cause stars to appear out of focus or blurry.
- It uses a Bahtinov focuser, creating an aspect that facilitates fine focusing.
- If your telescope has motorized focus, you can use software like Sharpcap to fine-tune the focus.
- In planetary, use the camera's live focus function and adjust until you get the sharpest image possible.
Suitable filters
Filters enhance contrast and highlight specific details. Some essential filters include:
- Light pollution filters (CLS, UHC): Reduce sky brightness in urban areas.
- Narrowband filters (Hα, OIII, SII): Capture specific details in nebulae.
- UV/IR-cut filters: Improve focus on cameras without infrared blocking.
In polluted skies, filters help to improve the quality of images significantly.
Image stacking
Image stacking is an essential technique for improving the signal-to-noise ratio. It involves capturing multiple exposures of the same object and combining them with software such as DeepSkyStacker or Siril.
This process:
- Reduces noise by averaging random variations.
- Improves the signal, highlighting weak details.
- It increases the dynamic range, revealing hidden structures in nebulae and galaxies.
By following these principles, you can obtain impressive and high-quality astronomical images.
Finally, we want to remind our loyal readers that astrophotography combines technique, patience, and passion. While having the right telescopes, mounts, and cameras makes capturing images easier, knowledge and dedication are more critical.
An experienced and creative astrophotographer can achieve spectacular results even with modest equipment. In contrast, someone with the most expensive equipment but no practice can become frustrated by not achieving good images.
Start with what you can. Don't worry about having the best telescope or mount. The important thing is to start, and in the process, you will learn what tools you need to take better photos of the universe.
The actual value of this discipline lies in the continuous learning and excitement of capturing the beauty of the universe. Enjoy the process, experiment, and let the night sky inspire you.